5 Ways To Improve Your Own Food Photography
For as long as I’ve been shooting photos of food, I have thought that lighting is required by food photography.
But here is the question, does it actually work?
For the past four decades, as an elementary school teacher and a friend and a spouse and a 9-to-5 working individual who desired to enjoy a little quantity of weekend liberty, my program did not allow for time throughout the afternoon to utilize natural light. I felt like when I wished to take images of meals, and I had to be waiting for that beam of light next to the window. And I had been frustrated.
Afterward, I transitioned to blogging time and needed versatility and the time to have the ability to take photos that are amazing in light that is ideal all the time. Poof! Tadah! Zing!
The Fantasy of Lighting
What I am discovering is that Even as a fulltime writer with access to natural light all day long, the standard of natural lighting is always inconsistent. We are living in Minnesota (it is January, so don’t even get me started about the whys), and also the organic light in the winter season is… well, I am looking out the window at the moment and what’s just kind of a muddy grey.
I’ve felt like there was a much better method of waiting all day for these 3 minutes of all-natural light around.
And I’ve got great news — there is a much better method!
Your own food photography to enhance with lighting, let’s hit this up the flash with a hint list for food photography issues.
You can find so many things which I have found to be useful as I’ve made my very own small artificial lighting studios everywhere from our cellar into the dining room table into the kitchen countertops, so now I am discussing five manners that I’ve managed to boost the pictures of my meals when using artificial lighting.
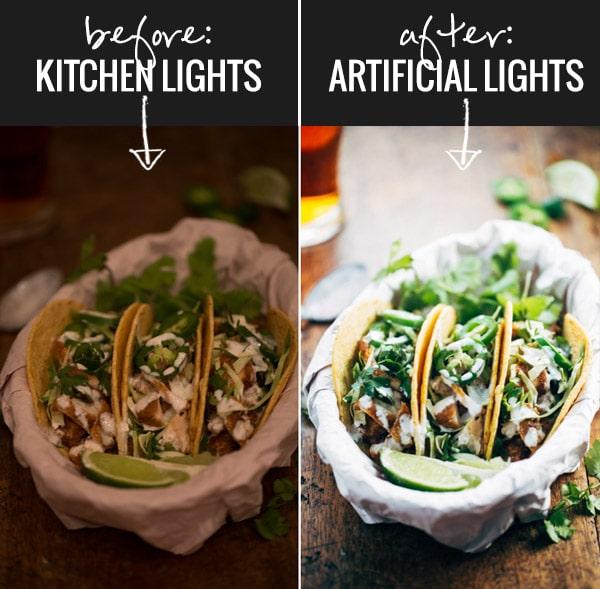
1. Ditch The Overhead Kitchen Lighting.
Do not, for one moment, believe that those lights on your kitchen will make your food look great.
Along with projecting an Unnatural tone (usually yellow ) throughout the entire picture, the lights are often stitched on the ceiling that means that they dab light directly on the food as opposed to highlighting out of a side or rear angle. That light will wash your feel out and make your meals look. My friends, not significant. Not exceptional in any way.
Stand-alone lighting components which could do the job for this kind of setup, and I’d venture to state all of them — even those which are not always daylight — will probably be better compared to your overhead kitchen lighting. We mostly utilize the Newer Lighting Kit however for much more on the particular kinds of lights along with the advantages of every type, take a look at the bonus track at the end of the post.
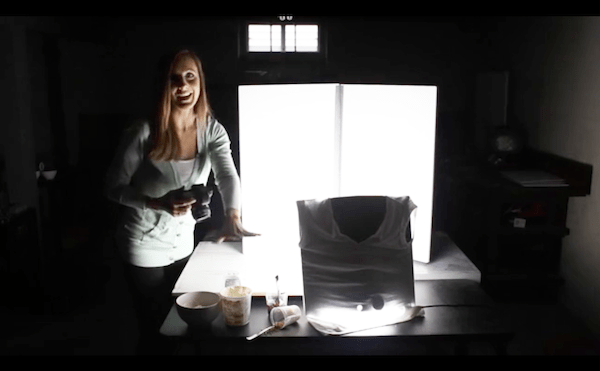
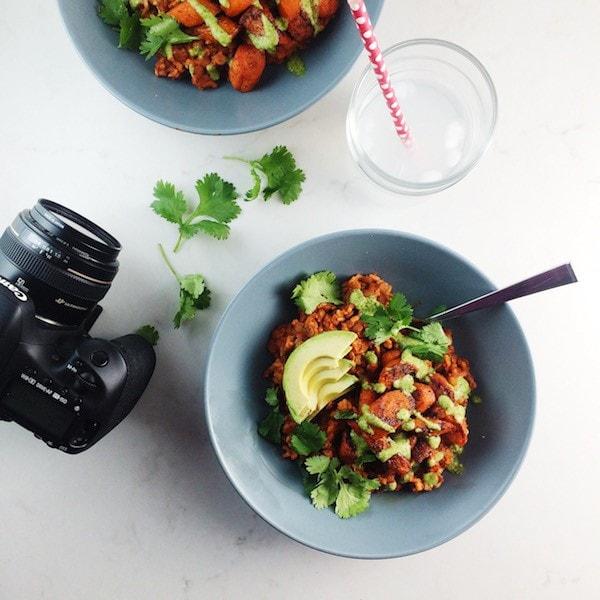
2. Shut The Curtains And Turn The Lights Off.
Additionally, you must wear a Clearance fake-diamond-bling Old Navy have your hair in a bun and sweatshirt.
I find it easier to get for when functioning with just one source of lighting, the appearance I am trying.
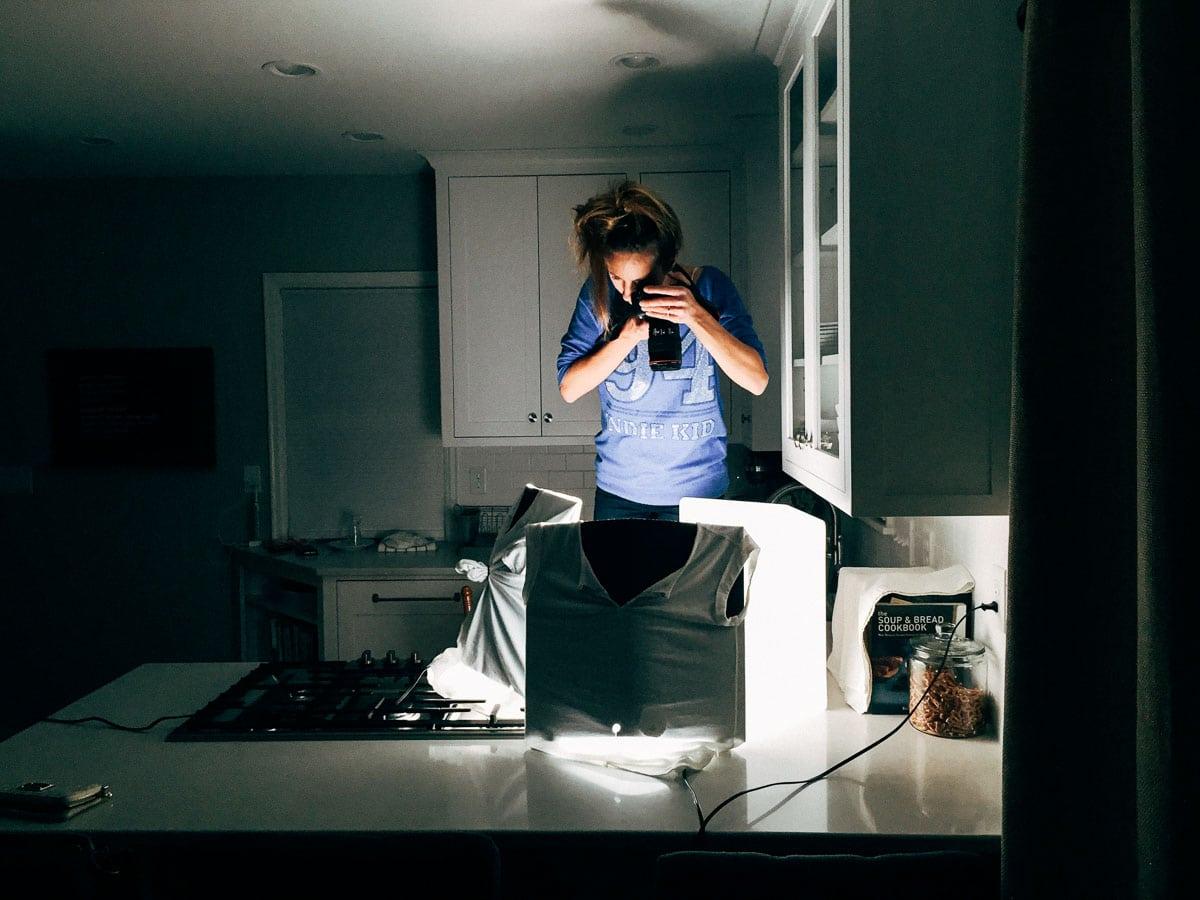
My artificial lights in a space which may nevertheless be receiving some slivers of pure lighting, close all drapes, so you are working in a really dark space with just one light source — your lighting device. This gives you complete control of the expression of the picture, the angles, and the tones.
Not everybody does, to be honest, this way. I have seen pictures studios where meals photographers for big industrial shoots utilize the two artificial light and natural lighting jointly, so this really is less of a principle and more a question of personal taste as much as what will create the setup and take move more smoothly for you. For me personally, it works best to manage one light source that is main.
3. It Is More Than Just Mild.
Using lighting is more than merely plugging in a light unit. This entire process is all about understanding how to utilize the illumination, the reflector, the backdrop, the diffuser, and also some other pertinent tools to control and control the mild. Consider this as a compatible and whole setup, not simply turn-on-the-light-and-go.
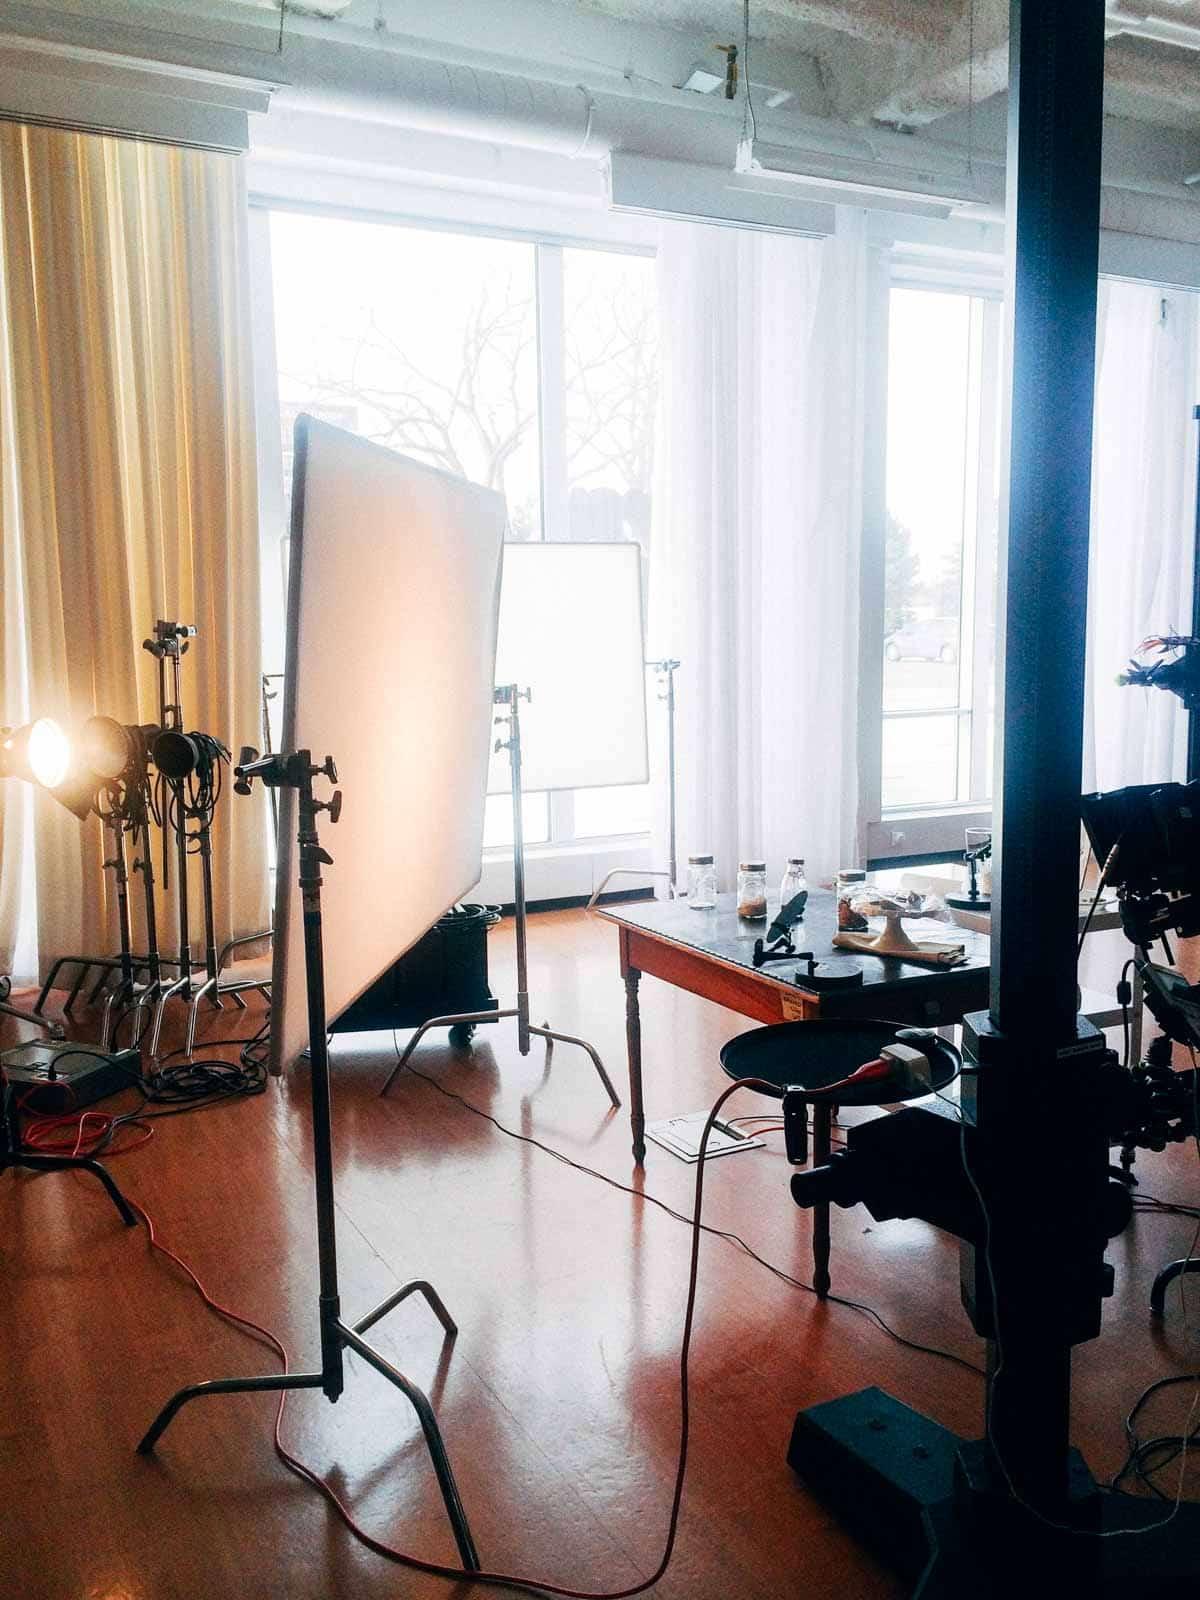
This is an image from among the studios in that, and General Mills here in the Twin Cities’ a great deal of gear beyond the light.
Additionally: currently hiring somebody to make this studio occur in my home thanks.
4. Shoot Onto A Coating.
Shooting to a white surface helps you to be in a position to assess and adjust your white balance.
If you are using is projecting an unusual color tone in your picture, your white backdrop (that, in this situation, seems yellowish) will alert you to this issue straight away. This permits you to make custom white balance adjustments in your camera you don’t need to fix whatever on your editing on.
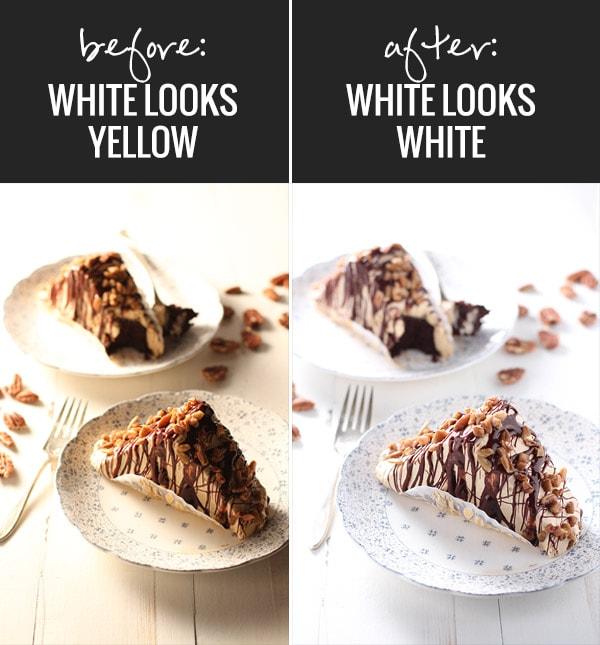
Towards bluer tones (the image on the right) since I find that it is a lot easier to heat up and saturate the colors of a photo in post-processing than it would be to eliminate that yellowish cast throughout the photograph.
Read about making money by photography, cooking, and many ways at Sow Your Money.
5. Know your manual camera settings.
Kind of the suggestion, right? Some work as it takes. But this could be the single most crucial thing that you can do to create yourself an all-around food photographer.
Mainly when using Lights, you have to understand how to inform your camera exactly what you would like it to do. Learn ISO. Discover balance. Manual and learn autofocus. Learn them and exercise them. These are super Nuggets of knowledge which you have to have to take advantage of your Lighting setup for meals photography.