Step By Step Guide To Setup Your Amazon Affiliate Business
If you have at least $20 credit card, you may be better off on your way to earn a good extra income by becoming an affiliate on Amazon to start selling Amazon goods. Building your own site is less expensive and less effortless, and only takes time to set up.
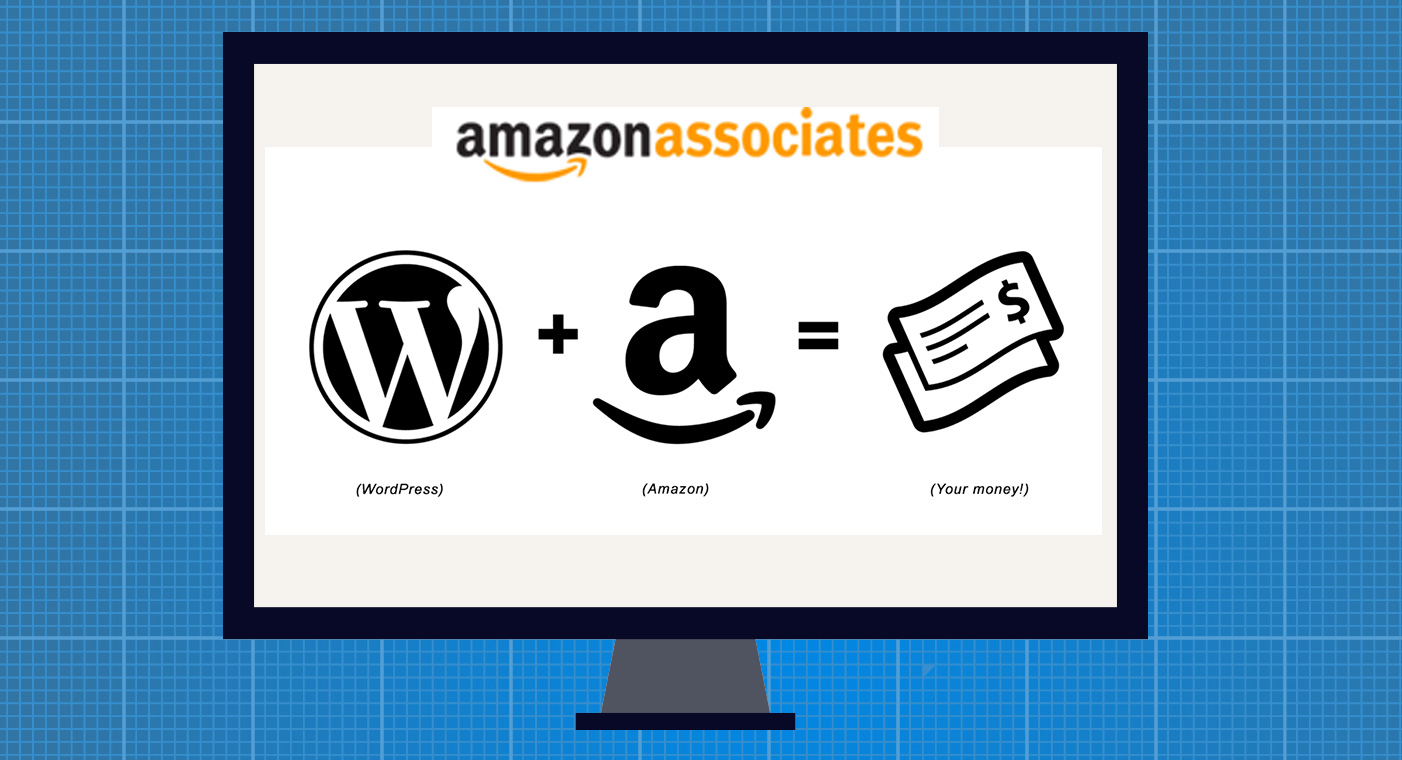
Once you click Amazon, the product will change to sales. You’ll see the best results from the right choice for your site.
1. Learn Some Basic HTML
HyperText Markup Language (HTML). It is a standard markup language. It creating web pages and web applications. This cost is important in reducing your costs and still getting what you want. If you are not familiar with basic HTML and basic concepts while running a website, invest in the time to learn; it is well worth the costs in the long run. Although the site is primarily a template for you to use, you still need to insert images, create hyperlinks, and learn how to do some text formatting.
To rely on the software you purchased, you cannot get exactly what you want, and you do not know what to do when things are wrong, and you end up with the money you do not need.
2. Choose your best
You are doing product reviews and recommendations, so you can choose some fun and you will show some experts. Choose a micro niche of very distinct nature so that you can easily get rankings on the first page of Google which in turn will increase the sales of your product. You can get ideas by going through the categories page of the Amazon website.
3. Establishing Your Web Hosting
This was a lot of people devastated. For an Amazon affiliate site, you do not need to pay significantly per month for web hosting. The monthly fee will be paid with some unlimited domains. You can run many sites in the same hosting package.
4. Enter your domain name
If you are technically inclined, enter your domain where you are setting up your hosting. Otherwise, you can save a few dollars by choosing a low-cost provider. This is not a big deal for one or two sites, but it can be up to 10 or 20. GoDaddy is a good choice. It offers great domain management tools and costs less per year.
5. Install WordPress
“Blog, what do you say?” Yes. Your site gives you all the structure you need and makes it easier to post new stuff quickly. Free, WordPress, easy to install and use, yet powerful. Most hosts have the same step installation method, or you can download it and follow their installation instructions.
6. Make It Pretty
One of the great things about WordPress is that it has a huge variety of templates available. It gives you more freedom and control over the look and feel of your site.
7. Set up Categories
Most blog software allows you to create subcategories to help manage your entries. Categories improve their interests more specifically. For example, BandsFromTexas.com may have a collection of factions for art-rock, country, or blues-and may be for source-Austin, Dallas, Houston or San Antonio City.
8. Sign Up as an Amazon Associate (Affiliate)
It’s simple and free. Simply visit Amazon and join the bottom associate’s link of the page. Your site must already have the minimum basic setup, even if you do not have any content yet. Prior to approval, Amazon will review the site manually.
9. Post your bookmarks and links to your blog
At the bottom of your blog software posting page, a topic called “bookmark” should be visible. Click on the link and drag it to your link toolbar in your browser or your Favourites menu. This allows you to blog about a product with a mouse click.
10. Create Your Amazon Build-A-Link Bookmark and Link
At this stage, you can easily build a link built with your affiliate ID. Login to Associates Central, Left Navigation Sidebar, Go to Build-A-Link, and find personal items in static links. Click it and drag it into your Link toolbar or Favourites menu.
11. Build Your First Link
Login with your associated account in Amazon. Find the product that you want to review and use the gray text on the top of the screen to see your personalized link on the item after you log in as an associate. Amazon offers many other options for creating links and banners.
12. Blog Your Review
Now click on your blog posting a link (hit it as default in WordPress). If you’re using WordPress, the link code should be viewed in two pieces, the first to end with associate’s build-A-link. Delete by that point. The second part of your Amazon associate ID has a link to the built-in product. Write down your product review now and select the appropriate categories for it to hit and publish.
13. Build your Amazon affiliate site
Before you promote your site, you would like to have some substantial content there. Write many product reviews. You have at least two to three for each category you create. You may want to create categories for articles, news, and annotations about your topic. Your site has more and more content. And the great thing is that if you’re writing all this, the search engines get the notification automatically, assuming you get the notifications you need.
14. Promote your Amazon affiliate site
This is the best way to communicate with other bloggers who write about these topics and participate in online communities that discuss your topic. Ideas, as well as the Online Business Networking category for Internet Marketing category.
Author Bio: I’m a blogger who loves to write about emerging technologies & I blog TechAriz. Recently I got attracted to the e-commerce field and started exploring it.