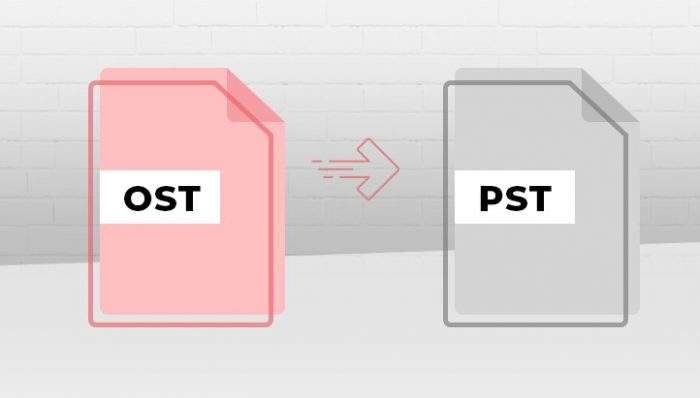
Free guide for Converting an OST File to a PST File
We’ve covered converting an OST file to a PST file for free using MS Outlook options in this post. We’ve also discussed a more complex option.
I’m here to show you an easy approach to backup Outlook data safely and an expert way to inform you about the best OST to PST converter.) Your search for the best way to convert OST files to PST format is done! We’ve covered the top three techniques for manually migrating an OST file to a PST file in this article. The purpose of this article is to explain how to convert an OST file to a PST file. The suggested methods can be readily followed to converting an OST file to a PST file format.
What is The Purpose of Converting an OST File to a PST File?
When the exchange server is down for maintenance or crashes, you won’t be able to view the OST files. When your outlook profile isn’t working properly, your productivity suffers, and your business suffers. As a result, converting an OST file to a PST file is required.
Data Migration- OST to PST conversion facilitates data migration from one file format to another. Also, if you want to rebuild an OST file but it contains some unsaved data, you can convert the OST to PST for a painless OST file rebuilding.
OST files have a far higher risk of corruption than PST files, and they are also more vulnerable to virus attacks. A user must export OST to PST file format in order to protect the files from corruption.
Another reason for migration is a lack of storage. Due to a lack of storage capacity, many users must convert OST files to PST files.
Methods for Converting OST to PST that Work
There are various methods for converting offline OST files to PST files. We’ve covered the top three techniques for converting OST to PST in this article.
Data from the Archives
We’ll utilise Outlook’s Cleanup Tools to convert OST files to PST files in this method.
Prerequisites: You must enable the Archive Settings for this manual technique so that OST files are saved as a distinct PST file in the system. The archive option also helps to reduce the mailbox size to a minimum. Additionally, by preserving older emails in the archive folder, the mailbox space is kept at an ideal level.
- Open Outlook and navigate to the “File” tab.
- Navigate to the “Options” tab and select the “Advanced” button.
- Now go to the “Auto Archive Settings” section and input the number of days you want the Auto Archive to run for.
- Select the preferred location to save the archive file by clicking the “Browse” button.
- To continue, click the “OK” button. A conversion procedure will begin, and all of your Outlook mailbox items will be stored in PST format.
Export the data to a new PST file.
We’ll export the data from Outlook OST files to blank PST files using this procedure.
Prerequisites: You must have Outlook installed and configured correctly on your computer, and you must be connected to the Exchange server.
- Start Microsoft Outlook. Click the “File” tab in the top left corner of Outlook.
- Select the “Open and Export” option after clicking the file tab.
- Now select “Import/Export” from the drop-down menu.
- To continue, click “Export to a file” and then “Next.”
- Select “Outlook Data File (.pst)” from the “select the file type to import” drop-down menu, then “Next.”
- Then click “Next” after selecting the folder from which you wish to export the files.
- Select the option to “Allow Duplicates to be Created” now.
Finally, press the “Finish” key.
When you click the end button, a pop-up window will open, prompting you to provide an optional password or continue by clicking the “OK” button. Your OST file will be converted to a PST file and saved in the location you specify.
Using software to convert OST to PST
The OST files are converted to PST format using OST to PST converter software in this technique. In comparison to the other phases, this procedure is relatively simple.
- On your computer, download and install the SysTools OST to PST Converter.
- Click “OK” after selecting your Outlook version (32 bit or 64 bit).
- To pick the OST files, click the “Open” option.
- After selecting the conversion mode, click “OK.”
- Within a few seconds, a scanning process will begin and end.
- Choose “Save as PST file” after selecting the desired place.
- Finally, click “OK” after applying the “Date range filter.”
- Within a fraction of a second, the OST file will be converted to PST format.
Conclusion
We’ve gone over all of the best techniques to converting an OST file to a PST file in this article. It is recommended that you utilize a software-based way to convert OST to PST because it is more efficient. It also has various advantages, including speedier execution, lower risk of error, and a less stressful procedure.